I love working with gelli plates!
You never know how it is going to turn out,
but it is almost always wonderful!
Awhile back, I was at an art class and we
were using gelli plates -
I was working with an art journal
and some stencils.
On the right hand side, I did the above page
using an overlap technique with lemon and grape.
I have a habit of keeping some blank pages handy
to rub my brayer on after I roll out a color.
This way I don't waste paint, and I have
some really cool pages to play with later.
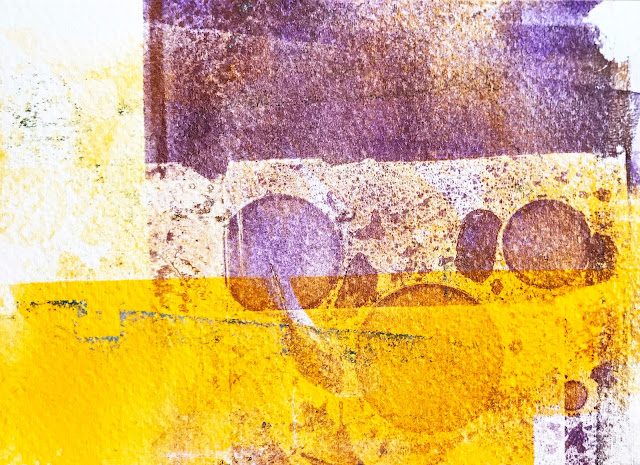
The left hand page worked as my scrap
and I brayered some leftover lemon.
Then I used a stencil to drop in some grape.
The instructor in the class I was attending
said you shouldn't ever mix yellow and purple
because you would get "mud."
I took that as a personal challenge.
Hahahaha!
Above is the second 'pull' I did.
The challenge is "the why" for this next set of pages.
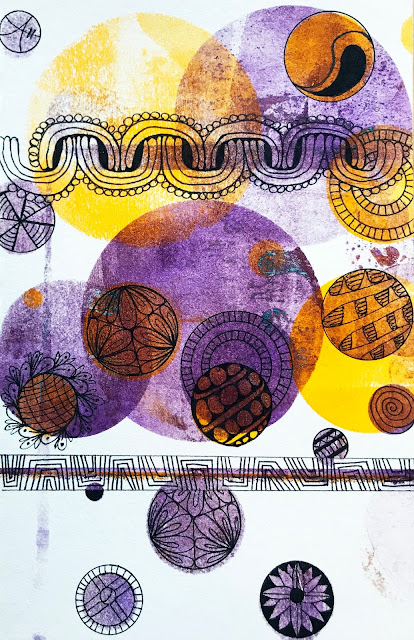
I did the gelli pulls and got the first two
pages you see.
That night in my hotel room,
I used a Zensations Sarasa Fineliner
from Zebra Pen to do some tangling on the first.
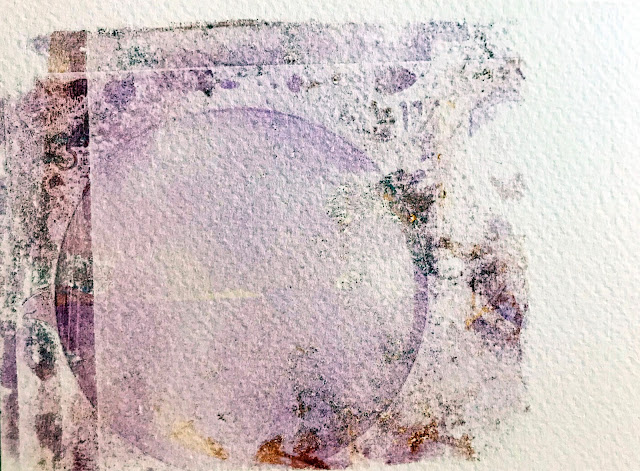
These other four pages are much smaller.
They were bits of watercolor paper I took to the
class - specifically to roll leftover color onto.
I closed the book and smooshed the pages
together and got a really cool mix of the
stenciled ghost circles and the brayered
leftover paint.
Then, I took these four scraps and placed
them into book - back and back and
side by side, closed the book again and
smooshed like crazy.
I was amazed at how much detail I was
still able to get. And really -
not mud at all!
So there is a way to use the
colors you like and
not get mud.
If you just think about it first
and go in with a plan.
For color I used
from Ranger.
So much fun!


I love the color combination. You didn't over mix and that makes all the difference.
ReplyDeleteVery nkce.
Very nice color combination . Not over mixing makes the difference.
ReplyDeleteit does. actually the way I did this there was no mixing at all. I did the layers separately and just pulled. worked out fine
DeleteI'm chuckling - not sure I could 'plan' that, experimenting can be intriguing but also frustrating. I can see you were in your element & I have to say that's a very attractive colour brown in places (maybe that's the mud??)
ReplyDeletethat would be my guess. hahaha! I like the rich, warm tones I got. not mud at all. hahaha!
DeleteDid you have a lot of paint on your prints that enabled you to smoosh the pages together and print from the prints, or have I misunderstood something? My prints never seem to be wet enough to transfer paint onto another page.
ReplyDeleteThe colours are beautiful - amazing combination!
I did use more paint than usual. Fun project. I’d love to see what you do with it.
Delete