
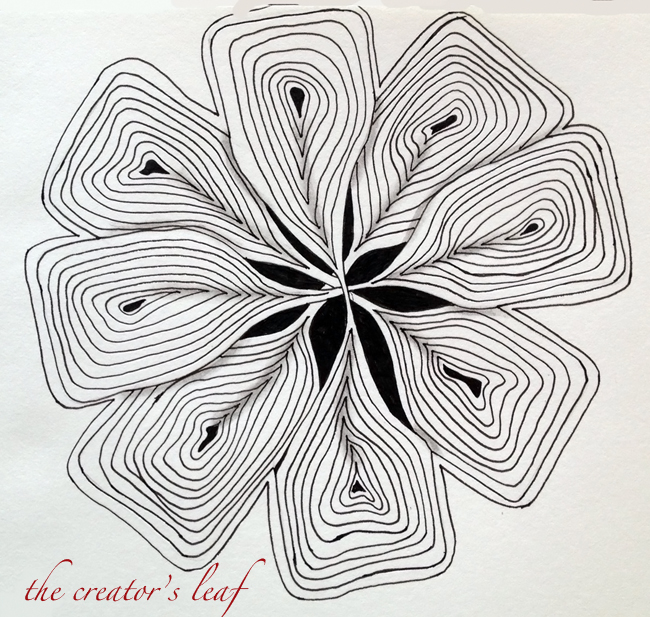


Finish up all the sections, aura around the outside of the whole thing, then add any black fill that you want. I filled the small interior spots - similar to fingerprints - as well as the underlying color behind the paddles.
Finish it off with some shading. I was happy with how this one turned out, so I moved on to the star. There had to be a way to make a star - not boat paddles - and I was determined to figure it out.

I started off with a circle drawn in pencil. . .

. . . which I split into six sections.

Then I put some pencil dots in the centers of each section to act as a base point for my star . . . . . . points,

which I drew with a micron.

I erased most of the inside lines, but you don't really have to. Then just like in the first example, I started connecting the sections and auraed them.

Add the next section, notice that it falls underneath the first section ala-hollibaugh.

Then the last section.

All that's left is to blacken in the fills. I elected not to aura the entire piece, but to fill in that background with tipple. Shade. I was happy with the way this star turned out - very happy, actually. So I decided to move on to a project.

I know I have step by step photos somewhere, but it's late and I'm super tired. I layered three circles, which included the star, the snowflake, and a flower. That flower? I used my ruler idea, but turned the flatheads of the oars into rounds and called it a flower :). Notice in the snowflake that you do not have to connect points directly across from each other. I added some Derwent Inktense Pencils for color and splattered various colors for some extra texture. For this one, I used Strathmore's new artist tiles - the vellum one.
Erin's tangle midoosa has a lot of options and I know I have only scratched the surface. I think I'll be using this one a lot in the next couple weeks, trying to perfect it. Thanks, Erin, for such a fun pattern!


wooow
ReplyDeletebravoooo Alice
love it
Great tutorial Alice, I can't wait to try it.
ReplyDeleteGreat tutorial Alice, can't wait to try it.
ReplyDeleteSuper example of adapt & overcome - & being real about one's own limits. Brillaintly explained & I love the sense of excitement you create with your description & telling of the tale.
ReplyDeleteHope you slept well.
Paula (PEP)