For Day #19 of
I pulled out my Baby Leda Pocket Sketchbook
and looked at what collage elements I could put together -
I had been collecting cutouts of clocks and lamps.
For the challenge in our Facebook group,
I set a 15 minute time frame for drawing -
and I've had people complaining because
I set a time limit.
(I also told them in the instructions they should
tangle for as long as they wished.)
Oh well.
Hence the wording in my finished piece.
And that would be why there are a bunch
of collaged clock faces, too.
Hehehehe!
Collage art is fun and it really is
anything goes!
This time at least I remembered to prime my
pages first with some of the awesomest
clear gesso on the market - Dina Wakley's.
Clear is not necessary if it is your first layer,
I just use clear on everything so I only need
to buy one type of gesso.
(If you don't count the black, and gold, and blue
in my drawer.)
To prevent streaks, I spread the gesso with an
old Christmas gift card that was already spent.
Thank you, Sis!
A good collage needs some funky color happening
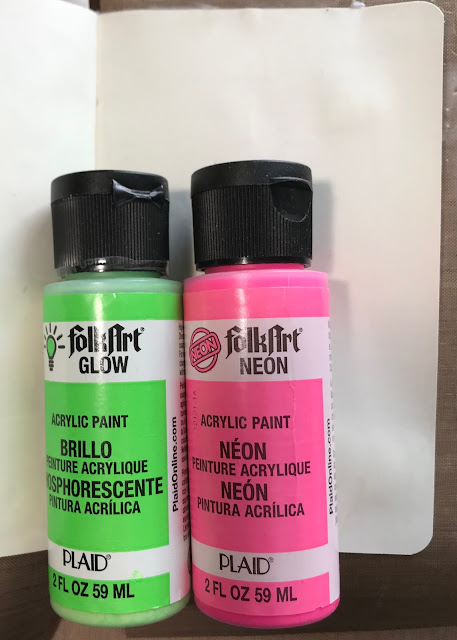
so I pulled out a couple bottles of neon
cheapo craft paint that came from WalMart . . .
. . . squirted some dots on the pages . . .
. . . and spread it up and down
and back and forth.
And I added some more dots along the way,
til I had enough coverage mixed with
some white space.
Cause who doesn't love white space?
And once again because I am impatient,
I used my Martha Stewart heat gun to dry
the whole mess quick.
So please forgive me, I forgot to take a photo
of my collage pieces before I glued them down.
But this is what I did -
I took all the pieces I wanted to use and figured out
how I wanted to arrange them on the pages.
Then I put some more clear gesso on a paper plate
and took my elements one at a time and with an old
paintbrush I spread gesso over the backs.
I placed the element on the page where I wanted it,
smoothed it down with my fingertip,
then painted gesso over the top and around the edges
to adhere it and seal those edges.
I did this same procedure until all collage pieces
were adhered and I set it aside to dry.
(Who am I kidding. I totally grabbed that heat gun.)
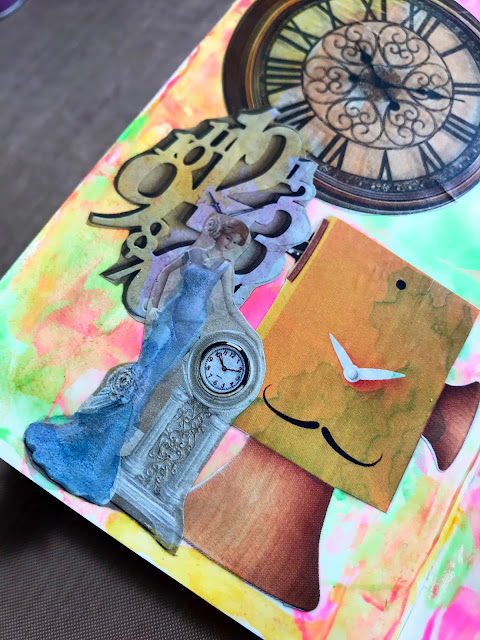
Things needed a little spicing up.
So, I reached for my Jane Davenport
Mermaid Markers that I got at Michael's
and started adding some color here and there.
They work just like a water brush and I used a
kleenex to blot some color off the page
so the colors would have a somewhat
mottled look.
In the above photo you can see that really
well on the yellow clock face and on the
silver number-faced clock.
For the most part I was happy with the colors.
But it needed some tangling so I could post it
I wanted to put the wording
Time to Tangle on that red clock . . .
. . . so I tried with a white gel pen.
Looked awful, so I went over it with a
super thin brush and some white paint
and basically gobbed it all up.
So I let that dry, then went over it with
a Zebra Technical Drawing pen and I
like it much better.
I did add more layers along the way.
I did a little tangling,
I added the word blob,
and I pulled out some stencils and an ink pad.
Posca Paint Pens finished out my collage piece
and I am really, really happy with it!
If you are looking for a place to get involved
with The 100 Day Project,
you can join us at Zentangle All Around.
The 100 Day Project is basically a global
challenge to make art for 100 days in a row.
It started April 3rd and will run through July 11th.
It is a great way to get involved in art -
or for some to get re-involved.


Thanks for the detailed gesso info - I'd been wondering actually. Not managed to get involved with collage yet but maybe in time it will happen. Like the Printemps lamp base. I totally understand the heat gun.........
ReplyDeletethis was fun but it was hard to work so small. I like bigger pages for collage, but I will probably do more of this for the 100 days project in the smaller book.
Delete