

I love mixed media and all the awesome things
one can do with the process!
Recently I have become an Artist Ambassador
for Leda Art Supply!

Part of what I will be doing is reviewing and using
their product.
Pushing it to the limits and seeing
just what it can take.
Above, you see one of the awesome sketchbooks
Leda carries.
They call this one Mother Leda.
The size is 8.25" x 5.5" - their most popular size.
This book has a flexible soft cover with 81 pound acid-free pages.
Eighty sheets with a total of one hundred sixty work surfaces of smooth high quality paper inside.
This solid thread bound book is a travel worthy friend.

For my first project right out of the gates,
I decided to go mixed media.
The Mother Leda is described to
"take applications of pencil, ink, pen, pastel,
charcoal and light water-color wash."
Hahaha!
I have never been one to live by limitations.
So.
Let's hop on this mixed media thing and
see what happens.
Above you will see I started with a brayer
and three tubes of Pebeo High Viscosity
Studio Acrylics.
These particular ones came from DaySpring.

If you haven't rolled color before -
it is super simple to do.
Just a dab of color
(that's highly technical talk for 'not much')
squirted onto the paper . . .

. . . then take a brayer and roll back and forth
and up and down.
Easy peasy!

Originally I was going to do a one page workup,
but hey! I love this kind of thing!
So this quickly turned into a two page spread -
just by adding more dabs of color and rolling.
Awesome sauce!
(I like how the pink and yellow turn into orange -
just a nice confirmation of color theory at play!)

I had this bright idea to try some gelli plating
since I had the brayer out.
I dabbed the teal, grabbed some white and proceeded to brayer those together.
I figured the white would tone down the teal a bit.
(Not that I don't like teal all bright and beautiful.
I do! I used to have teal streaks in my hair to prove it!)

I stamped the color straight onto the page.

Then came that moment when I remembered -
not all artsy things we try turn out the way we imagined.
Perfect example -
because the page didn't have a hard
surface underneath,
the inked image was all wonky.
Normally I don't mind that,
but it wasn't what I was going for here.

I pulled out a couple tubes of Dina Wakley's acrylics
and started brayering those onto the pages.
A little fuchsia, lemon and lime that I bought at Joggles.

Better . . . and closer to what I envisioned.
But still a little dark,
so I used Dina's white, or buff, and rolled some
on to tone down the overall effect.

Totally happy now with the background,
I moved on to Santoro Deco Mache papers and
a page from my Japanese dictionary.
(At least I think it's Japanese.
Honestly, it's been so long since I bought this
on eBay that I don't remember.)

I prefer hand-torn edges over scissor cut.
I started by playing with placement,
then the individual pieces were glued down and
covered completely to seal the edges -
using Dina Wakley's Clear Gesso.
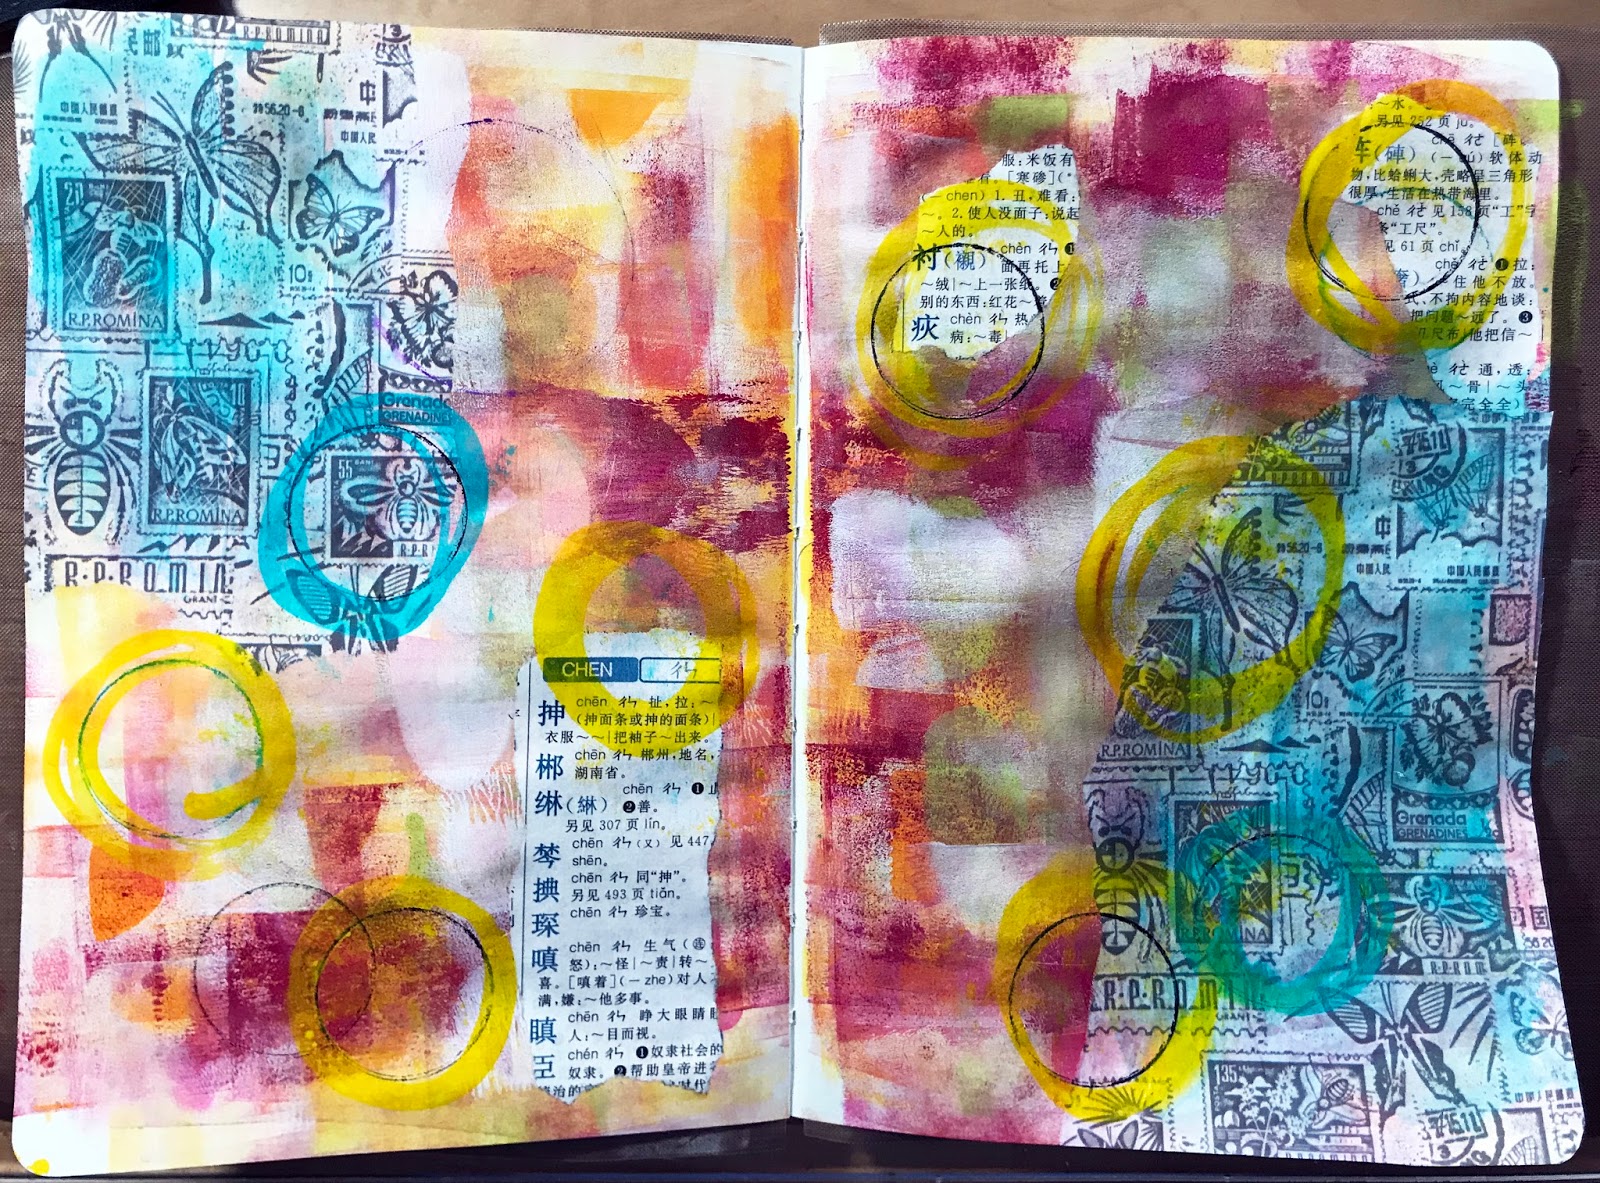
Now there was a little too much white!
Easy enough to fix with some teal
fluid acrylic from Golden.
(Yes, I do have one of everything. Sorry.
It's a bad habit of mine.)
I watered the color down even more,
then applied it with . . . my finger.
Some diarylide yellow made some
awesome rings around stamped images of a
couple old medicine bottles I save
for stuff like this.

I wanted to work on some of those open areas
with some sparkle and shine.
Fine Tec Pearl Colors watercolors
are just the ticket for that!

I also used a new-to-me glittery marker from
Kirarich to make even more circles.
Cause one can never have too many.
It's kind of like art supplies.
Hahahahaha!

I am also an Artist Ambassador for
Recently they added
Mildliner Double Ended Highlighters
to their product line.
I used the few I have on hand and started
filling in some details on the background papers.
They worked great over the dried gesso!

The mildliners also worked well to outline some
of the postage stamp images.
At this point, I pulled out some of
Jane Davenport's new mixed media supplies.
That little girl's face is a rub-on transfer.
Super simple to apply.
You seriously just use a popsicle stick that comes with the transfers.
(Not nearly as much fun - or yummy -
as getting your own the old fashioned way!)

Back to toning down the background a bit.
I bought this Color Box white ink pad a couple
weeks ago, and it doesn't seem to be
very well inked, but it worked good
enough for me.
I just turned the whole thing upside down
(try this on a scrap first)
and tapped it down with my fingertips.
Here and there and everywhere.
I love the cool speckled look it gave!

(I took a moment to check on my pages in the
Mother Leda sketchbook to see how they were
holding up so far.
Super awesome!!! That's how!!!)
I needed to ground that little head to the
page, so Jane Davenport's
Mermaid Markers came to my rescue!
Seriously! How fun is that!
Also a little stencil and that white ink pad
set some stars into her tresses.

I really got into the process and forgot
to take photos.
I bet you are thankful for that!
Hahaha!
Let's see.
I also used Jane's Paint Over Pens,
more Itty Bitty Stencils from Joggles,
various ink pads and even more ink pads,
a UniBall Signo white gel pen,

And called this mixed media
journey of excellence - - - done!

(One last little detail shot!)

And here is the finished product!
I started this whole post by saying I am an
Artist Ambassador for Leda Art Supply
and that I was reviewing their
I also outlined what the company said
the book was designed for.
But -
the test I put this book through is not nearly
what the book was designed for.
So . . .
how did the Mother Leda hold up to my test?
My mixed media extravaganza of a test?
It did superbly!!!
Fantastically and exceptionally!
Once everything dried there was
no real warping and there was no dimpling
of paper at all.
I counted at least 20 layers of product and
color that I added to these two pages.
The papers are thicker now because of all the
product I added, and the book still closes well.
The Mother Leda still closes flat, with no buckling.
There was no bleed through to the back of either page.
I can easily add art to the reverse sides of each
of these mixed media wonders.
I can not believe how wonderfully the
Mother Leda accepted all these products!
Soooo happy!
So happy - in fact - that I have started
another set of pages.
I guess you will have to wait and see
what that might be.
In the meantime, why not go to
and check out all the lovely things you need!
Myself?
I have my eye set on that paintbrush kit next.


