Wow! Where to start?
Photo heavy post ahead.
I am going to walk you through how I made
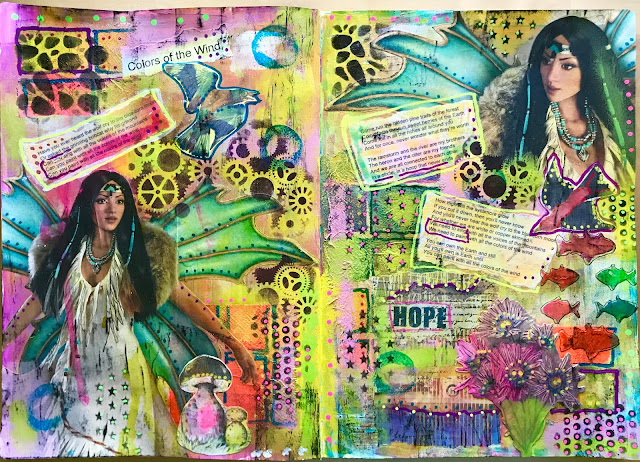
this two-page spread in my XL Leda Sketchbook.
If you don't care about that -
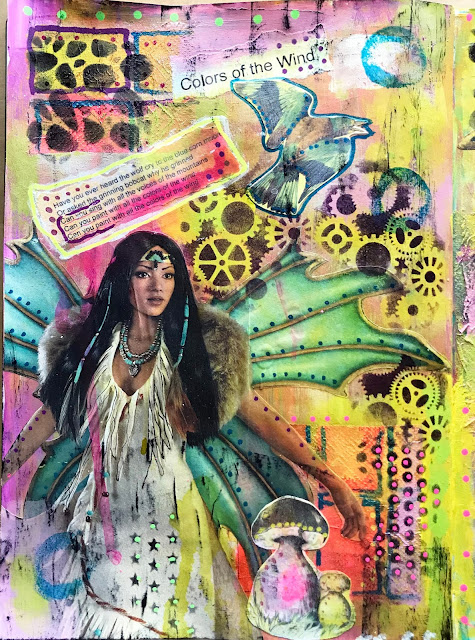
just admire the above photo of the finished
project and have a super day :)
but
if you want to see how this was put together,
just read on.
I started with my XL Leda Sketchbook
from Leda Art Supply.
Here is a link where you can see their other items.
The pages are 8.5" x 12" which makes this
2-page spread 17" x 12".
That's big!
I began by covering both pages with
Dina Wakley's Clear Gesso. I spread the gesso
with an old credit card to get smoother coverage.
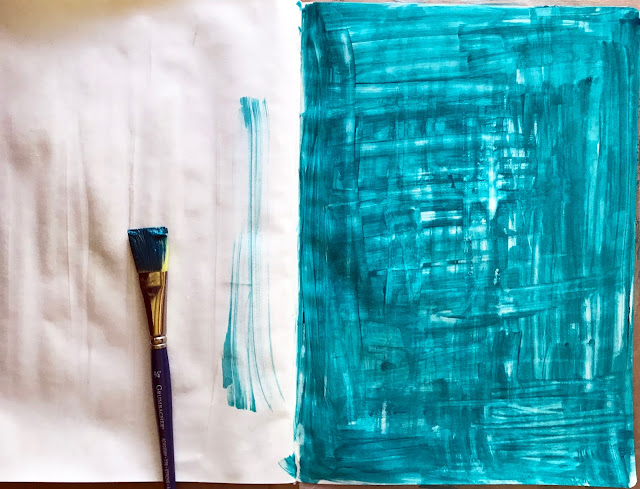
That teal color you see is some of Dina's
acrylic paints. I just smeared them on with a
paintbrush to give some texture.
Whoa! Too dark!
So I covered it with some white acrylic,
also from Dina Wakley.
I worked on both pages, adding layers of a couple
different colors from Dina's line,
then left it to dry overnight.
I still didn't like how it was looking,
so I changed over to
and a brayer.
I rolled several colors up and down
and side to side.
And kept working this way until I got something
I was happy with. Then stopped to let it dry.
Figured to throw in a bonus here:
whether you are rolling paint on pages
or rolling paint onto a gelli plate -
don't waste your paint.
That leftover on your brayer rolls very well across
some blank pages in your other journals.
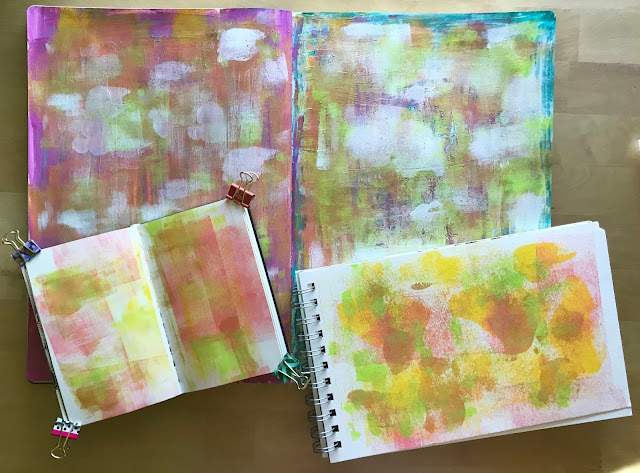
This is what I did with the Baby Leda Sketchbook
you saw on the left in the photo above this one.
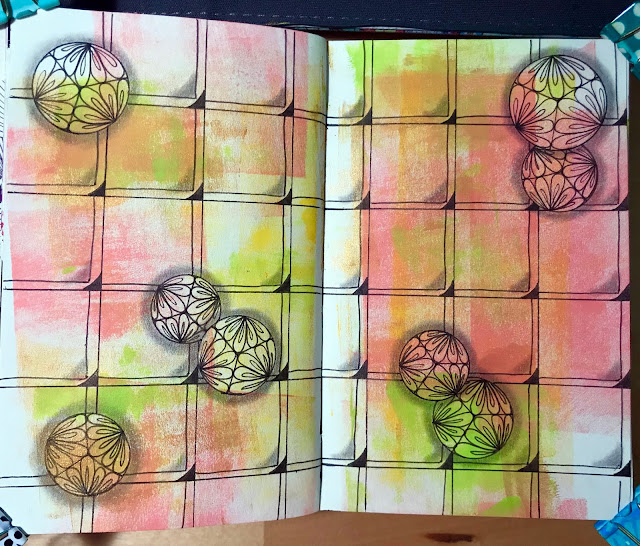
Leftover brayered paint makes a great base
for some zentangle art.
If you follow my tutorials, you already know I have
trouble remembering to take photos.
I get "in the moment" then all of a sudden I think-
I should have taken a photo of that!
So what you see above is this -
I collected various items I wanted to use in the collage.
Items I thought would work well together.
The Indian figure photos came in the mail as
part of a promotion Ashton-Drake had going on.
Those blocks of color are bits and pieces of a napkin
in Jane Davenport's line.
The birds are from the collage pages sold at
Joggles.com.
The Hope block was part of an ad in a
North Face sales paper.
The song lyrics I printed on my computer
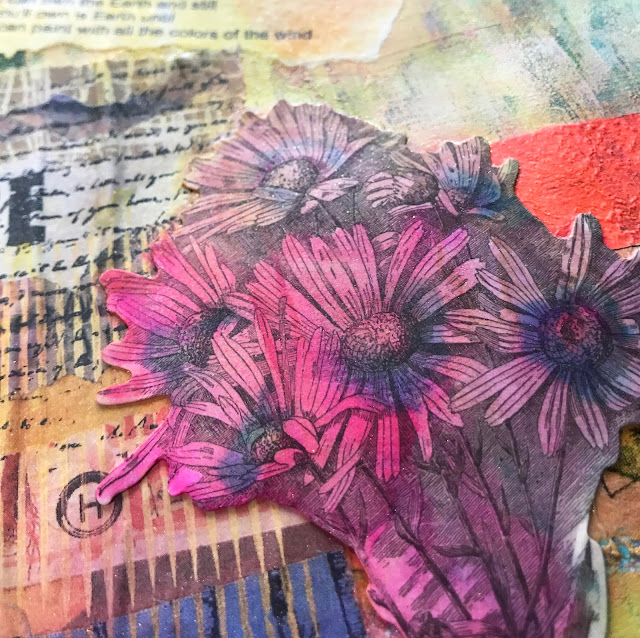
and the mushrooms and flowers are clip art
from Tim Holtz - I believe.
I adhered all those pieces to my background with
Dina's clear gesso,
then covered each of them with the same gesso making sure the edges were sealed well.
To give some color to those white
lyric blocks, I sprayed Dylusions Ink Sprays
and used Jane Davenport's Mermaid Markers,
then allowed the color to run down the page.
Here you can see the green and pink runs of color
from the Dylusions Ink Sprays.
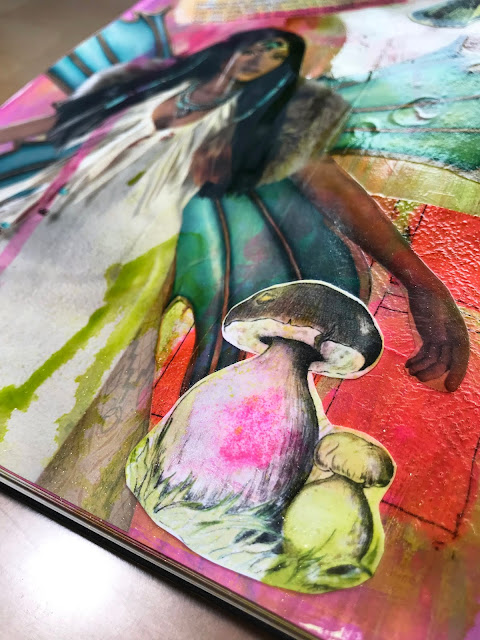
I colored the mushrooms with Jane's Mermaid Markers.
I used the mermaid markers here as well.
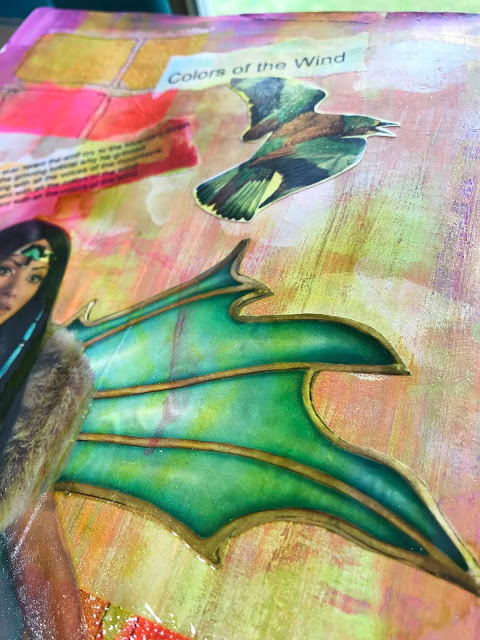
You can see drips on the wings,
and color on the lyric block.
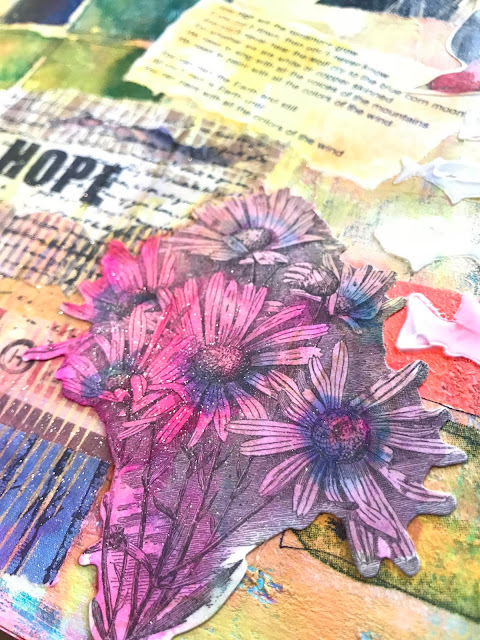
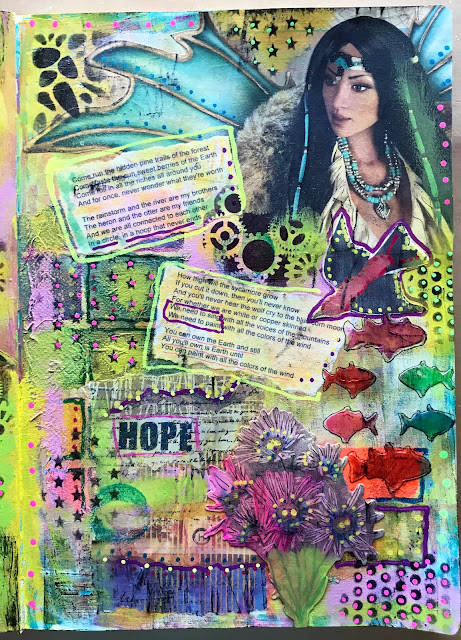
A shot of the Hope box that was part of
a magazine ad.
I just tear out pages that I think I may
want to use one day and throw them
in a drawer until I need them.
Possibly hard to see - I used a
Tsukineko Shimmer Spritz to add some sparkle
and shine. And I added some color with
Zig Pearlescent Watercolors on the mushrooms
and over the lyric blocks.
This big open area needed something,
so I pulled out my Joggles ATC stencils
and came across these fish.
Perfect!
I placed the stencil where I wanted the fish,
then scraped Liquitex Basics Gloss Gel Medium
through the openings of the stencil
and left it to dry overnight.
Here's a little more of that Shimmer Spritz.
Actually I didn't put it away just yet,
I took a photo first.
Cause you know - I am just so good at
taking photos.
>.<
It's the next day and I really wish I had
taken a photo of these fish to show you.
They were white when they were wet.
Looked like Elmer's School Glue, didn't they?
They dry completely clear.
Clear didn't help a whole lot, so I
colored them with my trusty
that Mark got me for Christmas a few years ago.
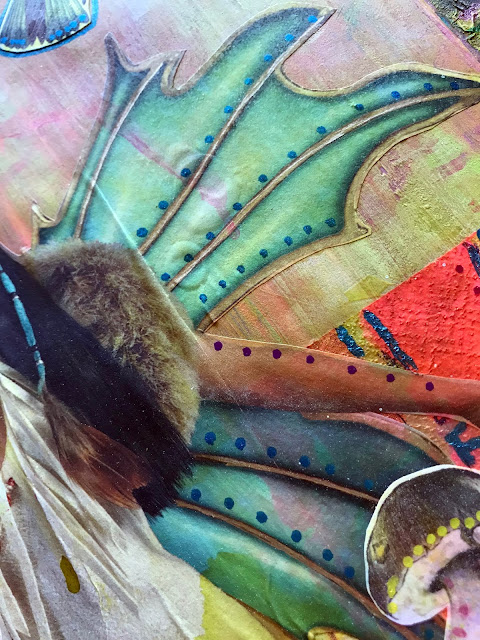
I used Pebeo Deco Markers and
Montana Acrylic Markers to add dots and outlining.
And still there were areas that needed more
color. How do you know when enough is
enough? You just will. And there wasn't
"enough" so I pulled out my Dylusions Paints
and rubbed color here and there with my
fingers. That adds texture and it really is
self-satisfying when you know you've done
something cool and your hands are such a mess!
You could see it in the last photo, but also this one -
those blue rings. I made those with a little styrofoam
squishy circle that holds the DVDs in the container
you purchase them in. Makes a great little stamp.
Then I also used some of those Joggles ATC stencils
I mentioned earlier and a black StayzOn ink pad
to add another layer of shapes.
This page needed some help, too.
So I added some stencil work in black here.
Here you can see scuffs that I made with
the black StayzOn ink pad.
I just scuffed it across the pages in several
places - to add more texture. And it kind
of ages the page, so to speak.
Getting closer but not quite yet.
There were still areas that needed something.
Back to the stencils and the ink to add
some pops of steampunk because . . .
why not?
And here, as well.
So I really liked what I had at this point.
And was ready to quit until I got an aha! moment
and realized I couldn't post this in my Facebook group
because there wasn't any tangling in the spread.
It's a requirement for posting.
So I pulled out my Zebra
Zensations Sarasa Fineliner and added some
tipple and flying geese . . .
. . . and printemps.
I also added some auras around circles
and called it done!
I figure all in all there are a total of about 25 layers
of product. And the XL Leda worked great!
I love using this book for collage work.
It holds up so well and the larger size is really
fun to work in!
This spread had a lot of wet product added and there
is really minimum curve to the edges of the pages.
And I know from experience those will flatten out
once I have left the book closed overnight.
You can see other collage
I am currently an Artist Ambassador for
Leda Art Supply and absolutely love their product!
I am also an Artist Ambassador for Zebra Pens.
Their Sarasa Fineliner worked great on top of all
these layers for the added touches of tangles.
Interested in doing some collage work of your own?
I would encourage you to try both the Leda Sketchbooks
and
the Zensations Sarasa Fineliners from Zebra Pen.
Have a great rest of your week!













Love your page! I am doing almost every page in my Baby Leda and Medium Leda with Mixed Media. I just haven’t decided that I have the nerve to do this big of a spread! So my XL is waiting for me to get the nerve!
ReplyDeleteit is so much fun and there is so much you can do on the large pages that won't fit on the smaller ones. I like them all, though, so who am I kidding! hahaha! collage them all!
DeleteThe Kuke extra page was a real bonus wasn't it? So effective with the Crete backdrop. I had to search for Flying Geese & Tipple but found them - well camouflaged in there. Amazing to think all those layers are on there.
ReplyDeleteI really have fun working with these but find I need to use the larger size book. and yes, the leftover bonus page was a really great surprise. they don't all work out this well. hahaha! I just don't show the ones that bomb.
Delete