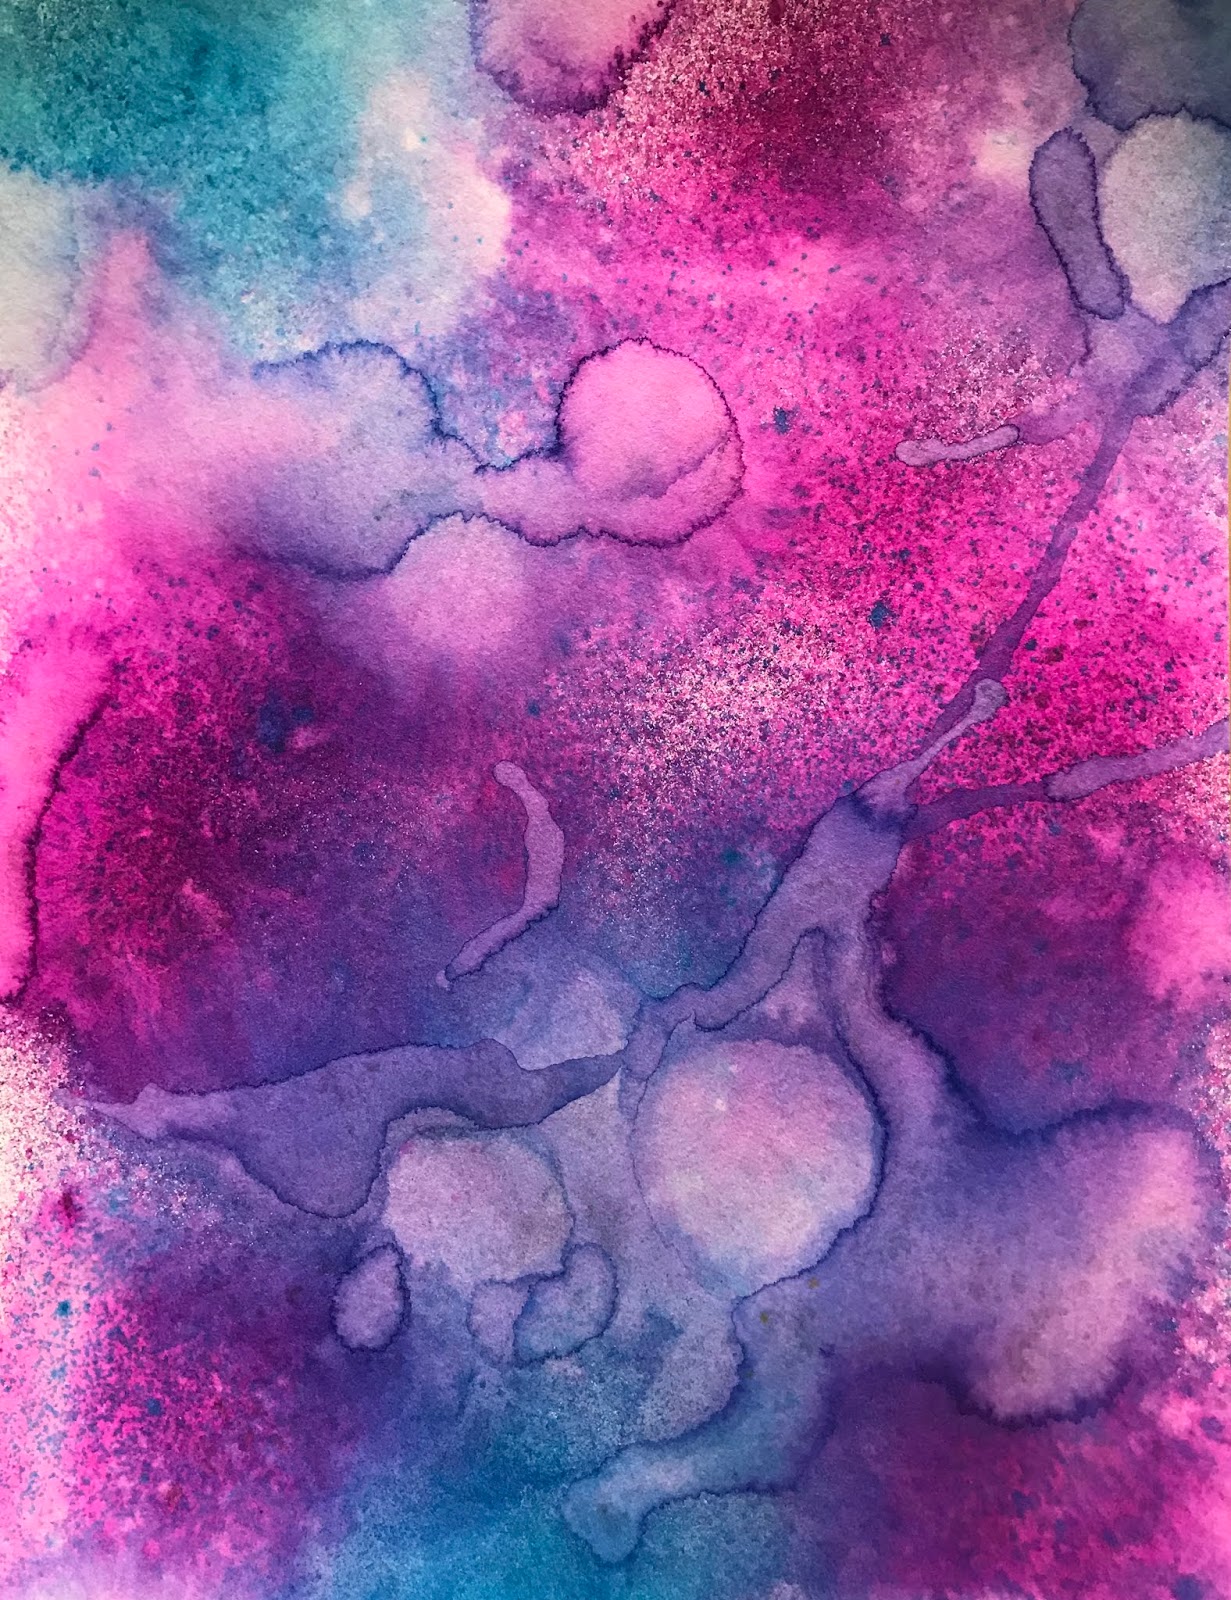
Showing posts with label dylusions ink spray. Show all posts

Wednesday, September 19, 2018

Finishing Some Projects #hahnemühle #hahnemühlegreybook #dylusionsinksprays #altenewwatercolor #taa #tangleallaround

Alice Hendon, Hahnemühle Grey Book, Altenew watercolors and sharpie
Yesterday was a day for finishing up projects.
Above you see a page in my
(yes, those pages are grey in color)
that I covered with Altenew Watercolors
using a simple flat brush. 
Just a little color blocking.
Once it was dry, I used the same flat brush and
made rings of petals.
Yesterday I went back in with a straight up
black Sharpie and added everything you see
in black. And popped in some white gelly roll 
details to complete the page.
Super simple but fun. 
Through Instagram I have already had a
video request to show how to do this page.
That will be coming soon.
That and a video showing how I draw
my printemps. 
And I might add that even though I used a straight up Sharpie - 
it did not bleed through this 55 lb. paper. 
I honestly don't think my layer of watercolor
stopped that, so it had to be the paper. 
Alice Hendon, dylusions ink spray base completed with some of my original tangle patterns
This piece has been a thorn in my side for several years.
Seriously.
It started off about 12" x 20".
Somewhere in that ballpark.
I did the Dylusions Ink Sprays first and started
tangling the page.
A little at a time.
And I pretty much always hated the way it looked.
So I would stick it back on the shelf and do
something else. 
Then one day I would pull it out and do something else.
And still hate it.
A couple days ago I figured I'd give it one more go.
As I looked at it yesterday I realized there was one
section I actually liked.
It was all the rest that I didn't like.
So I got out my paper cutter and lobbed off
this section (about 8" x 10") 
and chucked the rest into the trash!
Yes!!!
Take that non-zenful stuff that I drew!
And then I completed this portion and kept it.
And now I love it!
Let's see. Tangles that I kept:
fiore (gotta love fiore!), blooming butter,
loads of tipple and printemps,
my own airways and a new one I am totally
going to call anemone. 
And boom!
Done and in love!
And it only took me about 4 years.
Not even kidding. 

Today I am working on the new I Dare You!
prompt from my FB group
We are taking our very first zentangle tile we
ever made
and are recreating it now that we have a little
experience under our belts.
Stay tuned.
That will be tomorrow's post.
Want to join us in a very active,
inspirational and encouraging tangling group?
Click here to see what it's all about.

Thursday, September 6, 2018

Mixing Hahnemühle With the Procreate App #hahnemühle #hahnemühlecézanne #procreateapp #hahnemühlebamboo

Alice Hendon, Procreate App art on imported backgrounds I made on Hahnemühle papers
 This is an awesome background I made using
Bamboo Mixed Media paper from 
I used loads of water, blotted and mopped up,
then added more water and shimmer spray.
I also used a heat gun to make the heat rings.
Lots of working on this sheet of paper with tools
and it held up like a champ!
No problem with warping, pilling, or shredding.
And I love the bright, brilliant color.
Alice Hendon, Procreate App art on imported backgrounds I made on Hahnemühle papers
 I loved it so much that I imported it into the 
Procreate App on my iPad and tangled up
this mandala. I am still learning the program,
there is sooooo much you can do with Procreate.
And I still have my original sheet of color that
I can use for something else. 
I used tangle patterns: betweed, shattuck and flux.
Alice Hendon, Procreate App art on imported backgrounds I made on Hahnemühle papers
 This is a 12" x 16" sheet of 
Cézanne Hot Pressed Mould Made Watercolor paper
from Hahnemühle
For color I used a couple shades of the
Dylusions Ink Sprays and a lot of water.
Yep. 
That's my signature move - lots of water.
And a heat gun to make rings, drips and runs. 
I love that this sheet is so large and it looks
beautiful! 
Because it was originally on a block of
paper - that means it is glued on all 4 sides - 
I was able to leave it attached to the block 
until it was completely dry. And it stayed flat. 
Yayayay!!!
Alice Hendon, Procreate App art on imported backgrounds I made on Hahnemühle papers
I also uploaded this paper into the Procreate App
and tangled up a little underwater scene. 
Hahahahaha! 
I don't know where you'd have to go
to find a red and orange ocean,
but this is my underwater scene
and I'm sticking with it!
I used nebula, printemps, Indy Rella
ripped screen and a hybrid tangle I'm working on. 

I am really enjoying loading my backgrounds into 
the app and using them without actually drawing
on the original piece of art. That way I can use
the backgrounds again and again for other things.
Although I totally see myself tangling up this large
sheet of paper at some point. 

Hahnemühle has so many amazing types of paper
to draw or paint or print on. 
You can check them out at their website

The Bamboo Mixed Media can be purchased here
Cézanne Hot Pressed can be purchased here

And . . . if you are new to my blog, 
this is easy to remember 
pink = link. 

Friday, February 23, 2018

Hahnemühle Bamboo Mixed Media Experiment #Hahnemuhle_USA #zebrapen #ranger_ink #joggles

dylusions shimmer sprays on Hahnemühle Bamboo mixed media paper
 There are some new kids on the block
and
they wanted to come out and play this week!
Hahnemühle Bamboo mixed media paper pad
This play session started with some awesome
Bamboo Mixed Media paper from 
The German paper company has been around since 1584!
On Hahnemühle's history page you will see the statement:
Paper Makes the Difference!
Truer words were never spoken.
love the shimmer and shine with the Dylusions shimmer sprays, crushed grape and funky fuchsia
 I recently received this Bamboo product 
from Hahnemühle to work with and review. 

Let's start with a few words about the paper.
Due to its design, Bamboo allows the color to flow beautifully, yet maintain its brilliance. 
Their website uses words like "high contrast" and "excellent color intensity" to describe this 125 pound mixed media wonder. 
It has a variety of uses including watercolor, acrylic and pastel techniques, drawing and mixed media.
This Bamboo pad was crying for color so of course I had to oblige! 
gorgeous color and glimmer, Dylusions Shimmer Sprays on Hahnemühle Bamboo mixed media paper
 The paper is 90% Bamboo fibre and 10% cotton rag.
It came to me in a pad of 25 sheets - glued along the two outer edges.
The purpose of the glue is to hold your wet product flat until dry. No warping, no curling.
And that is a good thing because I like to work with lots of water!
And lots of ink!

For this particular piece I pulled out Ranger Industries' new
Just released at Creativation, I got several bottles from
to try because I love the other 
Dylusions Spray Inks so much!
For this project I used just two - 
Crushed Grape and Funky Fuchsia.
I began with a mop brush and a cup of water,
thoroughly soaking the paper.
Why not? Right?
gorgeous color and glimmer, Dylusions Shimmer Sprays on Hahnemühle Bamboo mixed media paper
 Then I sprayed on lots of the two colors
and let them run and blend into each other.
See where those runs and drips are?
That is where I used the heat gun to push the color
into lines to give contrast and places to tangle.
Once the piece was mostly dry,
I took the stencil you see and placed it on top of the color,
sprayed water across the top, 
then rolled a paper towel over the surface to pick up the excess color.
When you add water over these inks - it removes the color because the inks are not color fast.
Which means you can move them around to your heart's content. 
Then I used a heat gun to dry the paper well.
mixed media project using Dylusions shimmer spray, zebra pens and Hahnemühle Bamboo mixed media paper
A palette knife allowed me to remove the page from the
Bamboo block of paper. 
I started tangling - what else? - Printemps with my 
but I felt the color was too dark.
Yes, I could have sprayed more water and blotted up
color, 
but I wanted to see if I could lighten the 
background by using more product. 
Because. Why not.
Hehehehe!
paints I used for my mixed media project
 I started with these three colors and two pill bottle caps.
I spread some paint in a styrofoam plate and made paint rings on the background.
I had forgotten that the Dylusions sprays are not color fast and 
my paint rings turned pink.
No bueno.
(If they had been teal I would probably have 
been ok with that.)
I needed to lock in that color so I could still work wet.
add a little iridescent sparkle with Golden acrylics
 No photo for this, but I pulled out my handy dandy can of 
Workable Fixative and sprayed it all over the paper.
Then because the fumes about knocked me out,
we left and went out for breakfast!
When we got home I took a Golden Fluid Acrylic 
and mixed it with water on my craft mat.
With a splatter brush, I just flicked that 
awesome iridescent pearl 
all over the paper.
And my computer screen 
and window 
and glass desktop. 
But, I was starting to like this a bit more.
building a mixed media page with Dylusions shimmer spray, Zebra pens, and Hahnemühle Bamboo mixed media paper
 Still too dark, though.
Somewhere along the way I started adding some
string roses and spiral roses in black and white,
then I remembered I was working on mixed media paper so I could 
stray away and add more product.
That white is courtesy of a Uni-ball Signo gel pen.
building a mixed media page with Dylusions shimmer spray, Zebra pens, and Hahnemühle Bamboo mixed media paper
 I love this green gold color and my skinny little brayer!
A little acrylic on a plate, mush it around with a brayer,
then layer some here and there over the paper. 
Easy peasy!
Hey, wait! What was that white thingy in my desk drawer?
The spindle protector on a DVD stack that I had saved!
Makes an awesome stamp tapped into some color to add 
a couple highlight rings.
building a mixed media page with Dylusions shimmer spray, Zebra pens, and Hahnemühle Bamboo mixed media paper
Hahaha!
Titanium white to the rescue.
Brayer here.
Brayer there.
Voila! Not so dark everywhere.
Just a nice even contrast and balance. 
building a mixed media page with Dylusions shimmer spray, Zebra pens, and Hahnemühle Bamboo mixed media paper
 But there was still a decent amount of darkness,
so I took a Kleenex because it was close by
and dabbed it into the excess white on my plate.
Makes such great texture on my page!
Might as well use that styrofoam ring some more, too!
building a mixed media page with Dylusions shimmer spray, Zebra pens, and Hahnemühle Bamboo mixed media paper
 I don't believe this stamp and stencil set from Ranger is new,
but it is new to me. 
My original thought was to stamp in black about half way up the line of leaves, then use a white pen to trace the top half using the stencil. 
Nice plan, too bad I forgot.
building a mixed media page with Dylusions shimmer spray, Zebra pens, and Hahnemühle Bamboo mixed media paper
 So I used the white pen to go over the vines. 
OK, that worked great to alleviate some of that darkness.
building a mixed media page with Dylusions shimmer spray, Zebra pens, and Hahnemühle Bamboo mixed media paper
 I just felt like the page was missing something 
to tie it all together.
So out came some Itty Bitty ATC Stencils 
from Joggles
Something to keep the "flow" going.
building a mixed media page with Dylusions shimmer spray, Zebra pens, and Hahnemühle Bamboo mixed media paper
 So what did I do? 
I added some of the dark back in via my
Gothic Purple StazOn ink pad.
I used a finger dabber sponge and pounced 
the color through the stencil.
building a mixed media page with Dylusions shimmer spray, Zebra pens, and Hahnemühle Bamboo mixed media paper
 Through three stencils actually. 
At this point I guess I forgot to take photos.
I also used a couple Sharpie paint pens to 
highlight the rings, and to add dimension.
building a mixed media page with Dylusions shimmer spray, Zebra pens, and Hahnemühle Bamboo mixed media paper
 Some of my previous tangles were so obliterated, 
I wanted to pull parts of a few back out.
Enter the Zensations Brush Pen from Zebra Pen
I traced back over the leaves and some of the roses.
I used the white Uni-Ball Signo pen to retrace some of the white roses.
building a mixed media page with Dylusions shimmer spray, Zebra pens, and Hahnemühle Bamboo mixed media paper
A closer view.
building a mixed media page with Dylusions shimmer spray, Zebra pens, and Hahnemühle Bamboo mixed media paper
 I felt like I was finished,
but I really thought that one string rose 
to the right was too dark now.
That brush pen worked a little too well. 
Hahaha!
building a mixed media page with Dylusions shimmer spray, Zebra pens, and Hahnemühle Bamboo mixed media paper
So I pulled my splatter brush back out,
and watered down some pearl and some copper
and flecked bits of color all across the page.
Especially over that one black string rose.
And (again. sigh) said computer screen,
desktop and this time my cell phone.
But at least I love this now.
And those other things are cleaned up 
and back to new!

So, what do I think about the 
Bamboo Mixed Media paper from 
for my kind of mixed media mayhem?
I love it!
Everything worked great and no matter how much product I added - 
and I added a bunch - 
the paper stayed flat (even out of the pad) 
and held up great!
When I read that it was j u s t 125 pounds, 
I wasn't sure what to expect. 
I normally work on 140 pounds and higher 
and have lots of warping.
And curling. 
I've learned how to flatten it back out.
Mostly.
But why waste that time if I don't have to?
I could be painting something else.
The Bamboo stayed flat.
It took at least 21 layers of paint, 
spray ink, pens, acrylics, stamp pads, 
and it came out looking fantastic!

The paper has a little texture to it,
not as bumpy as cold press watercolor paper,
but also not smooth like hot press paper.
That little bit of texture helped the colors puddle 
and mix in the first step.
No problems with my pen work.
Everything worked awesomely and 
I could not be happier!!!
Thank you, Carol, and Hahnemühle 
for entrusting me with your product!
You pretty much rock!

If you are new to my blog, here is an important
piece of information. 

PINK = link.

Wednesday, September 27, 2017

Tangling an Opus

This one was fun!
Zentangle® HQ makes a 10.5" tile they call the Opus.
This is it. 
The other side is blank and is the side most people
choose to tangle on. Not me, I opted for the back
side with the Zentangle logo and Maria's beautiful
hand lettering around the outer edge.

To begin, I used two colors of Dylusions Ink Sprays - 
Bubblegum Pink and London Blue. 
Once that was good and dry,
I started tangling. Mostly I used a Sakura Micron 005
and a 0.1 Copic Multiliner. 
When I completely finished, I went back and used
some basic dimestore colored pencils and
added shading and color pops for interest. 
I think I will go back with a white gel pen and add
some highlights on the black areas. 
But you guys are special and you get this version instead <3.

What are you tangling up today?

Tuesday, June 6, 2017

Calling It Done

 Finally calling it complete.
I've been working on this 11" x 14" piece off 
and on for probably a year. 
When I didn't know what else to tangle,
or draw, I would pull this out and work 
on a section.
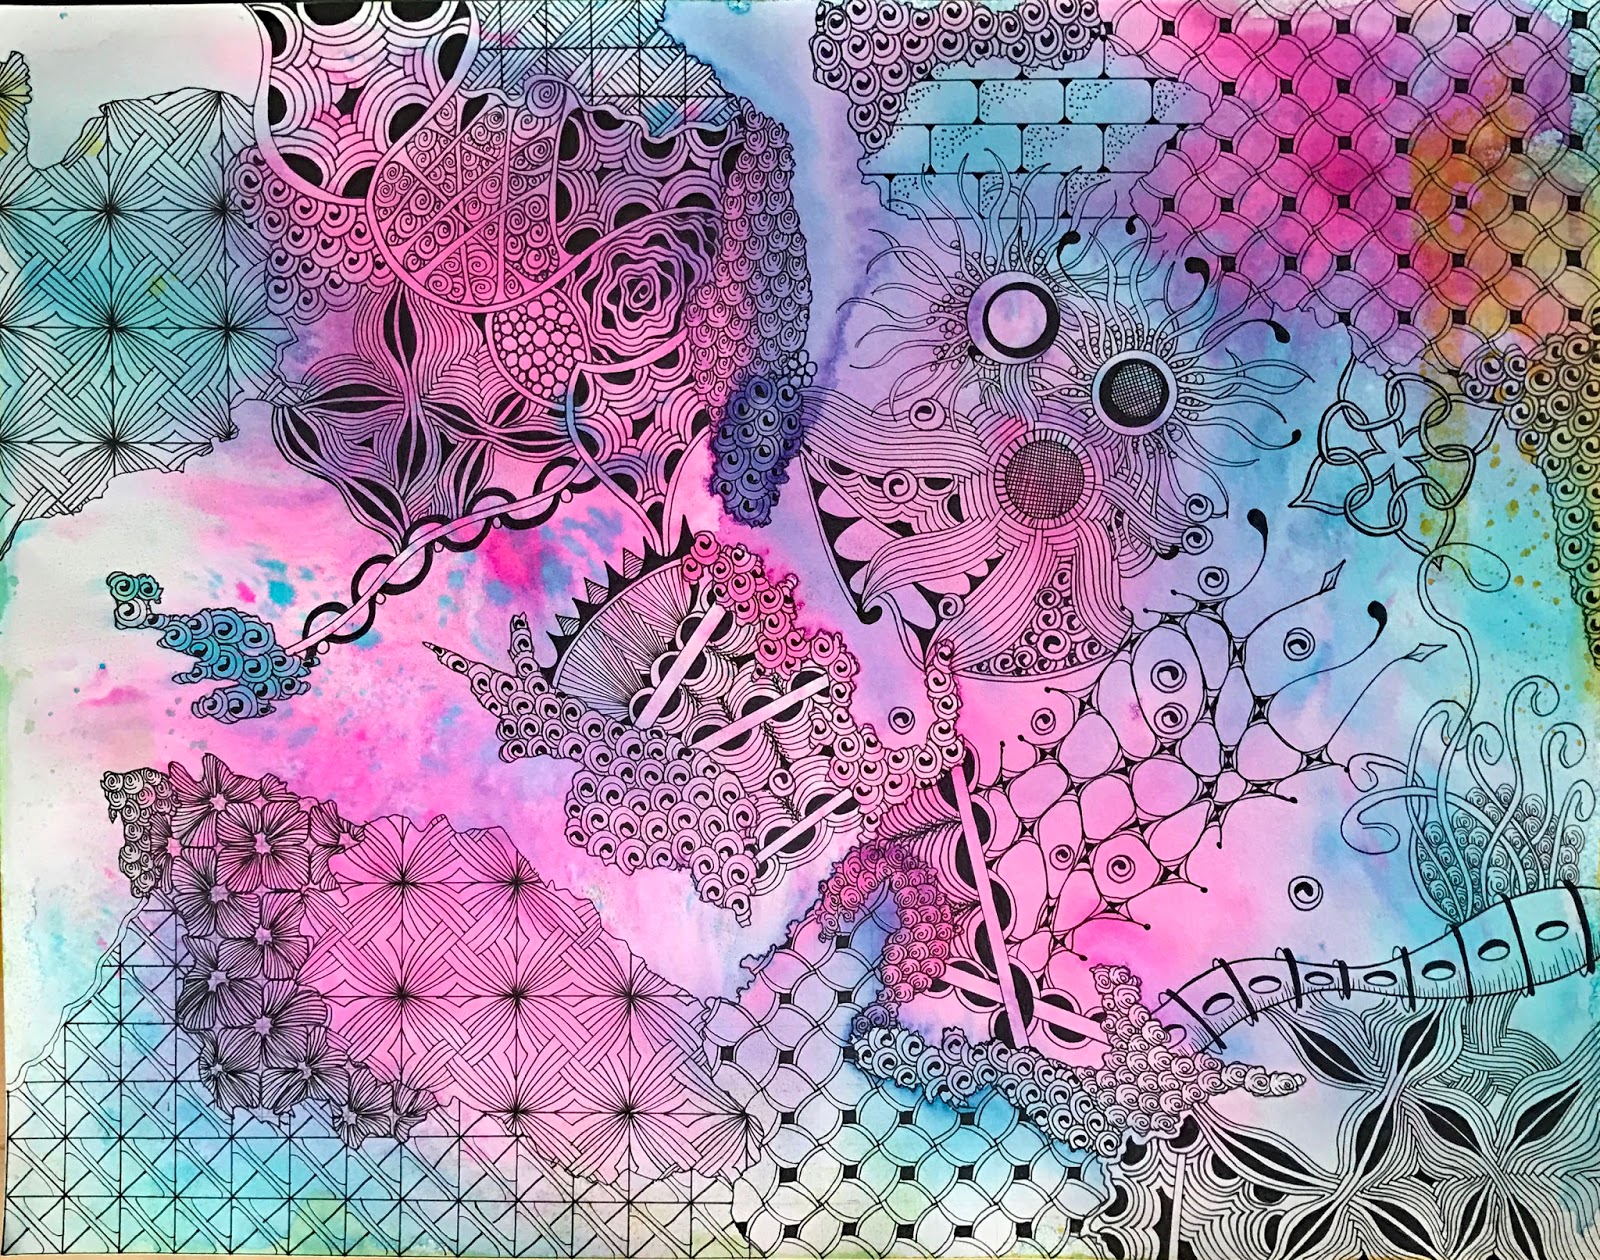
 This is probably my favorite part of the piece.
Normally I would tangle the whole thing
but on this piece it just seemed there
should be open areas.
Places where one could enjoy the color.
 A little more detail work.
 I tell you what.
This fiore tangle is one of my favorites.
One of my go-to patterns.
 This is Mark's favorite part.
He is finally getting an eye for tangling.
He looked right at the whole, 
and said that part in the center there looks
like a face!
Love it!
And, yes it does!
Like a crazy monster face with tentacles. 
Carla Sonheim would be proud of me!
At this point I thought I might be finished, 
but then my brain kicked in and said,
Nope, not quite yet
So I filled in a couple more areas,
added some white highlights which really
set the piece apart.
In my opinion anyway.
Hahaha!

All the scrumptious color comes from . . .
what else? Dylusions Ink Sprays.
Hope you love it as much as I do!

Thank you for looking.
I appreciate you so much!

Sunday, January 29, 2017

Tissue Paper/Dylusions Ink Spray - Art on a Shoe String

It's time for another 
Art on a Shoe String!
This week let's make backgrounds
for tangling, for cards, for art journaling -
or just because they are pretty!
Using tissue paper.
 Yes, I did say tissue paper. 
The trick here is to find some tissue paper
that bleeds when it gets wet.
I believe most tissue papers do,
so that part should be easy.
(I believe this would work with
those awful crepe paper rolls we
used to decorate with when we
were kids.
Cue the A.L. Bristol students here.)

I grabbed all the light to almost dark colors I had
and starting cutting strips
into 3" squares,
then I triangled them.
Any size will work -
and next time I am just going to tear
them into strips and try it that way.
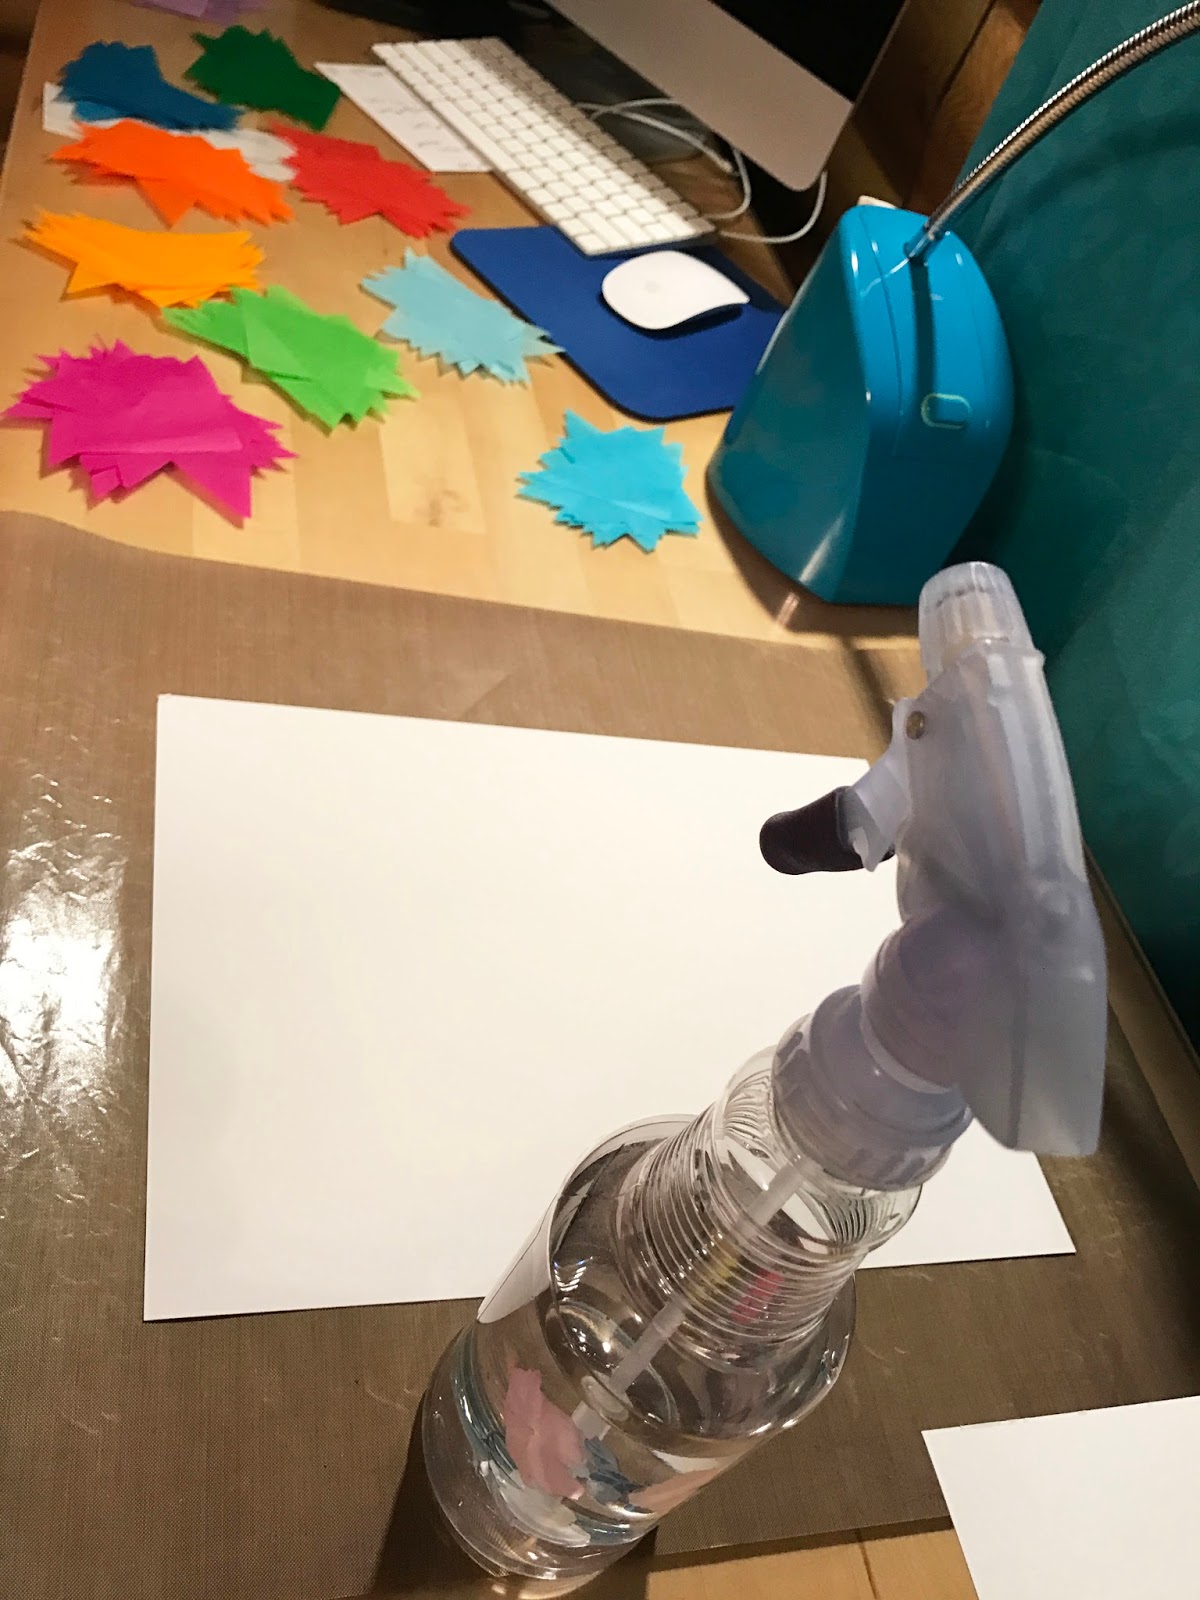
 Supplies are super simple.
Tissue paper triangles,
heavy paper (mixed media or watercolor)
and a spray bottle of water.
Here we go.
 Spray that paper and cover it with water.
If you don't have a spray bottle
use a mop brush and generously cover
one section of the paper at a time
with water.
 So this is the first time I've ever done this.
Hahaha!
You and me!
Let's do this!
So.
Take your seriously wet paper
and begin placing triangles from the
bottom and work your way up.
I found this to be the easiest way for
me to work.
Bottom to top.
It's ok if they overlap a bit,
if there is a gap a bit,
if they are crooked a bit -
or a lot.
And keep placing tissue paper triangles
until your paper is covered. 
You will see the color is bleeding well.
And it is bleeding from one triangle onto 
the next.
Little rivers of water are flowing from 
one to the other.
Happy dance!
And all those wrinkles should cause
some texturing to happen.
 When the whole piece is covered and wet,
let it sit for 20 minutes with no help
from you.
Don't get tempted.
Give the water and ink time to work.
 After 20 minutes remove all the tissue paper.
Realize that your hands are going to get stained.
Realize the tissue paper is still wet -
don't let it drip on your clothes,
or your sofa,
or your rug.

I have to say this is my least favorite of
all the pieces I did.
This was my experiment piece.
I learned that some of my tissue paper
was toooooo dark, 
so I threw the extra triangles of those
colors back into the basket.
(Just kidding. I really threw them in the trash.)

I noticed the edges weren't defined.
The whole piece looks blurry to me.
(The photo isn't blurry.)
Mark mentioned all the white spaces,
but I didn't really mind those so much.
So, keeping those points in mind,
I moved on to my second sheet of paper.
And.
I kept those triangles.
They work better if you lay them flat
when you remove them from your paper.
Once they dry you have some
awesome collage papers for art journaling!
 Second sheet of paper!
After I placed all the triangles,
I made sure they were all wet.
Some I had to spray more water on.
I made sure all the edges were tapped
down and in place.
After 20 minutes,
I had better results.
More defined edges,
no blurriness,
and some of the colors were
more dramatic like that red.
Lots of white spaces because I
let the papers bubble up too much with
water under them.
But overall I was much happier with 
this piece.
 I stood here at my desk,
staring out at all my beautiful snow,
and wondered where I could go
with this technique.

To the right of my window is a box
where I keep unfinished projects.
This is the one that sung out to me.
I've been tangling this piece for a
couple years, off and on.
I love the colors.
Dylusions Ink Sprays, of course.
Which can be a little pricey 
and
many places don't sell them.
So I wondered if I could achieve similar
results with my cheap little tissue paper.
So I pulled out another sheet of paper
and began placing triangles in a
similar color arrangement.
(Don't ask me where that green
one came from.)
Lots of water,
tamped down edges, 
plenty of little wrinkles and 
hills and valleys
for water to flow under,
and wait 20 minutes. 
OK, not exactly the same,
but I'm getting somewhere.
And I seriously love this one -
probably my favorite from the day.
(Did I already say that about another?)
 Here is another Dylusions Spray Ink
sheet I did awhile back.
I love the colors and the way
they play with each other.
Could I make something similar with
my inexpensive tissue paper?
 I tried to do a better job with 
triangle placement on this one.
There is some overlap and
very little gap anywhere.
 Here is an example of those
folds and valleys I was talking about.
Those little places where the triangle
isn't touching the paper.
Those make for some awesome texture - 
if they aren't too big!
 I did feel the gap here was too big,
so I placed another piece of tissue
paper right over the gap.
Not worrying about lining it up with
the others.
Just get it on there.
Make sure the edges are all down.
I even sprayed more water over
the top of all the triangles.
And after I removed the paper -
after 20 minutes -
this is what I had.
Very similar to the Dylusions piece.
And I think if I used random, torn up
bits of paper instead of the triangles -
it would resemble it even more.
 This is another Dylusions piece
I made awhile back. 
Two colors - fresh lime and London blue.
Let's give this one more shot!
 I used green, three shades of blue,
and a little yellow.
I didn't want the colors to run too much
and the paper was curling up,
so I held it down in the middle with
a ruler until the paper settled 
down a bit.
I used that ruler to make sure all the 
edges were tamped down.
Even had a little overlap on this one.
 Plenty of water 
and I covered up one gap.
And waited 20 minutes . . .
 . . . then I started peeling off the paper.
This is the closest I came to
duplicating the Dylusions Ink Sprays.
And I think it worked pretty well!
What do you think?

Tissue paper that bleeds,
some sturdy paper
and some water.
Voila!
Dylusions Ink Spray "look"
duplicated for next to nothing!
Now, it's your turn!